> ## Documentation Index
> Fetch the complete documentation index at: https://docs.toolrouter.ai/llms.txt
> Use this file to discover all available pages before exploring further.
# Quick Start
> Learn how to set up your first MCP stack
# Setting Up Your First MCP Stack
This guide will walk you through the process of setting up your first MCP stack on ToolRouter. Follow these steps to get started with the MCP ecosystem.
## Login to ToolRouter
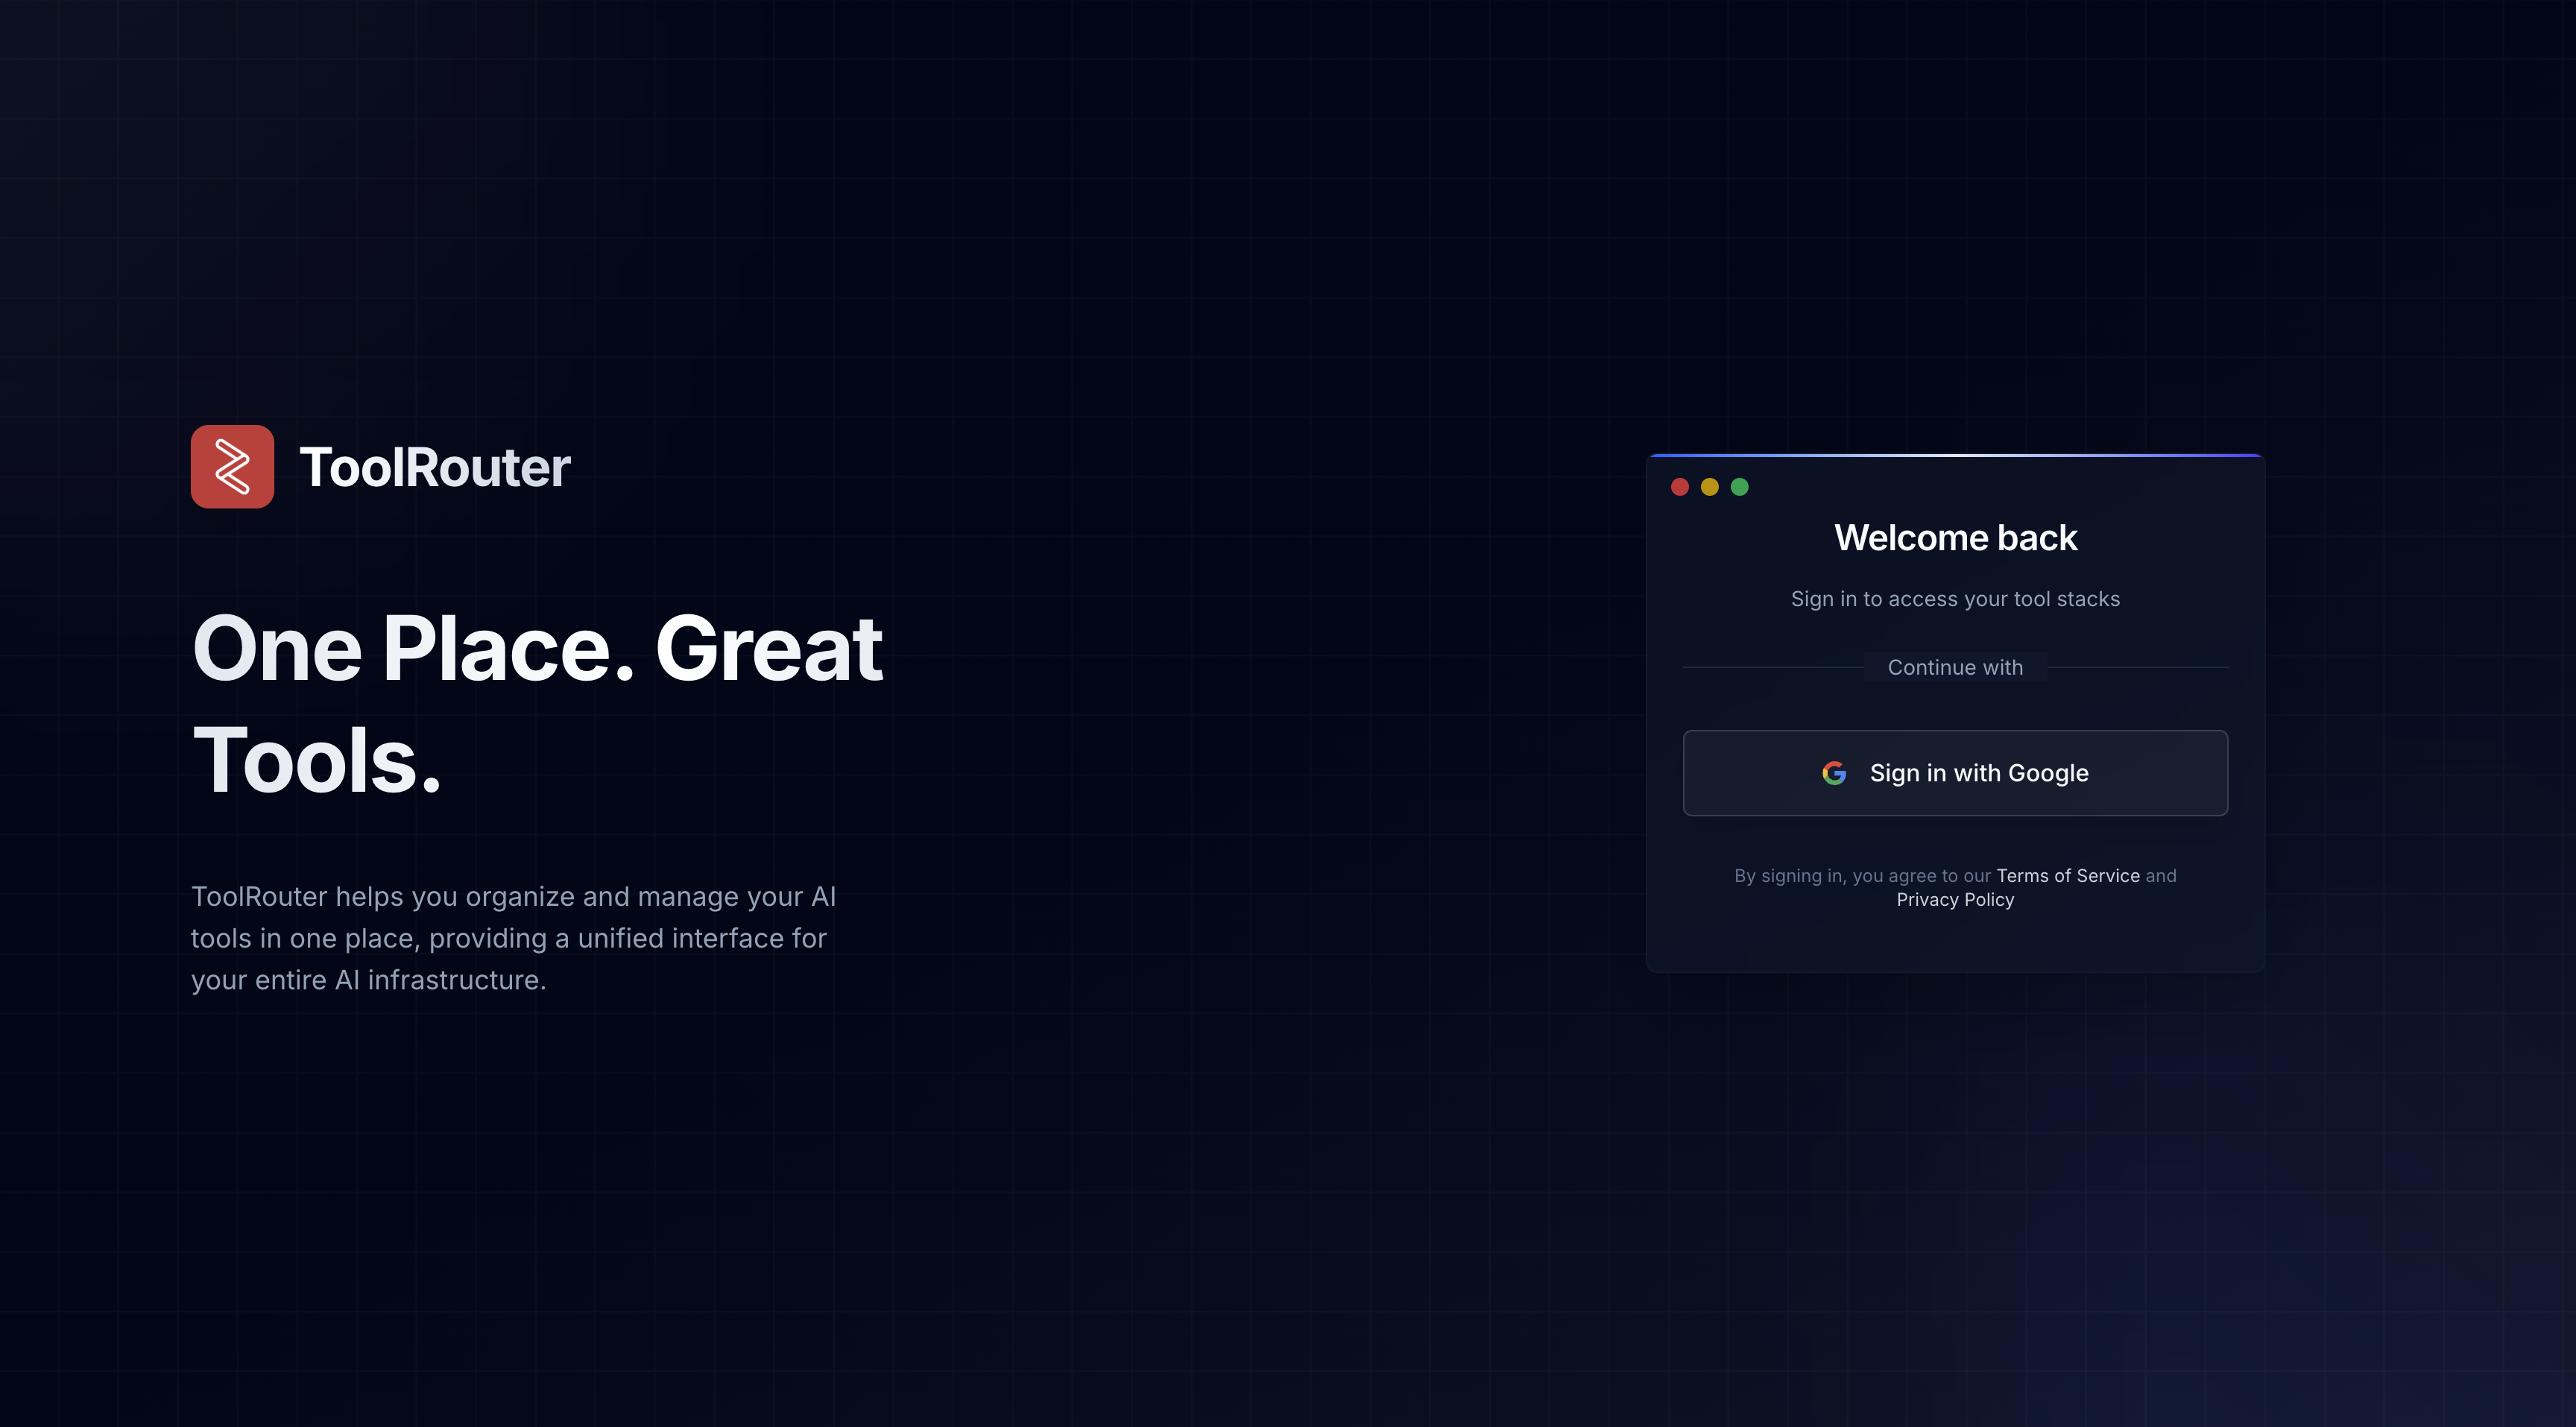
Go to [app.toolrouter.ai](https://app.toolrouter.ai) and sign in with your Google account.
 ## Create a new MCP Stack
Click the "Create Stack" button in the top right corner of the screen.
## Create a new MCP Stack
Click the "Create Stack" button in the top right corner of the screen.
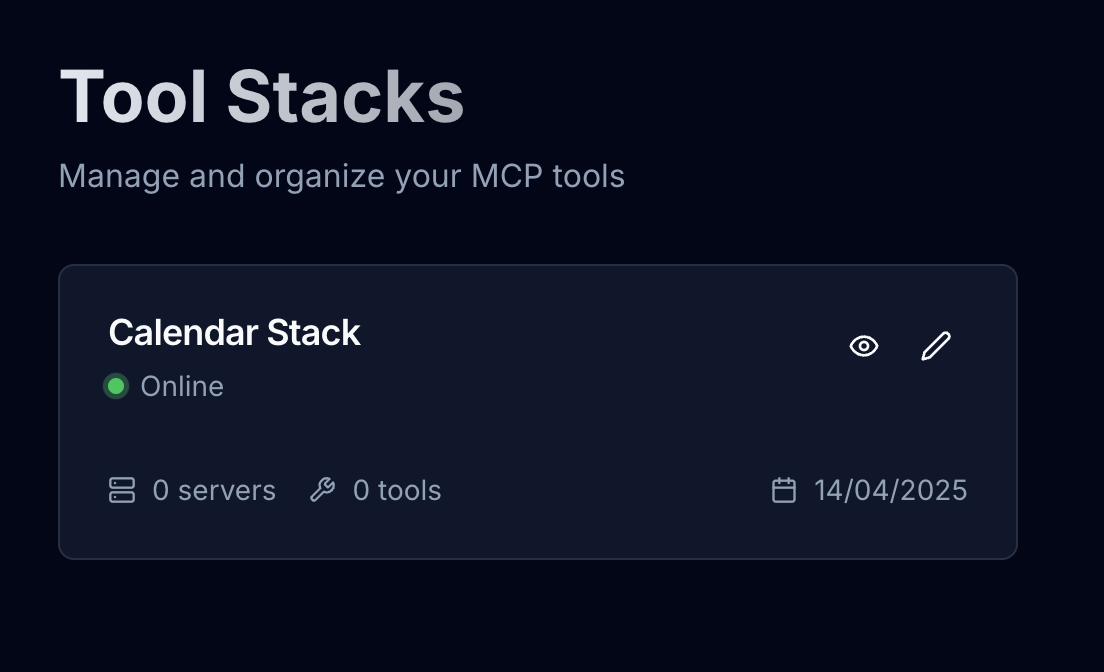
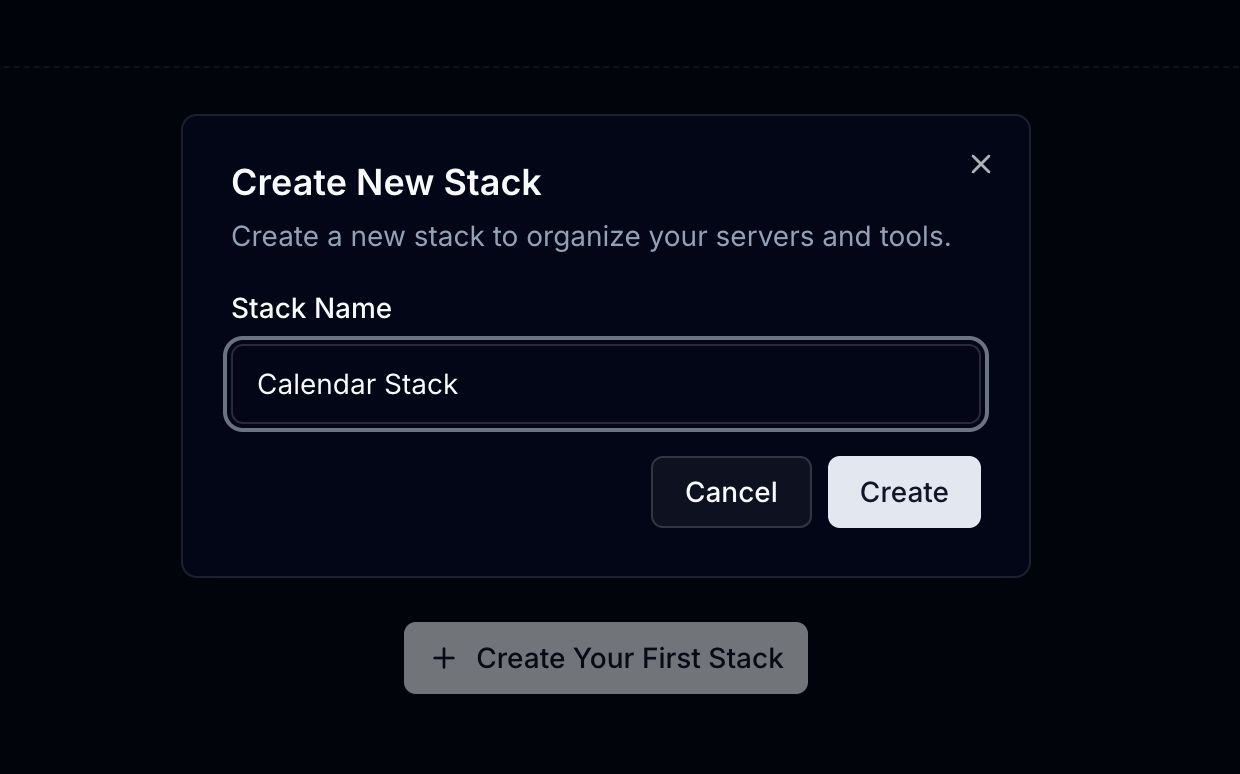 Enter a name for your stack, and click "Create Stack". Once the stack is created, click on the eye icon to view the stack.
 #### 1. Add servers to your stack
Click on the "Servers" tab on the top of the menu, and then click "Add Server".
Select the server you want to add to your stack, and click "Add Server".
#### 1. Add servers to your stack
Click on the "Servers" tab on the top of the menu, and then click "Add Server".
Select the server you want to add to your stack, and click "Add Server".
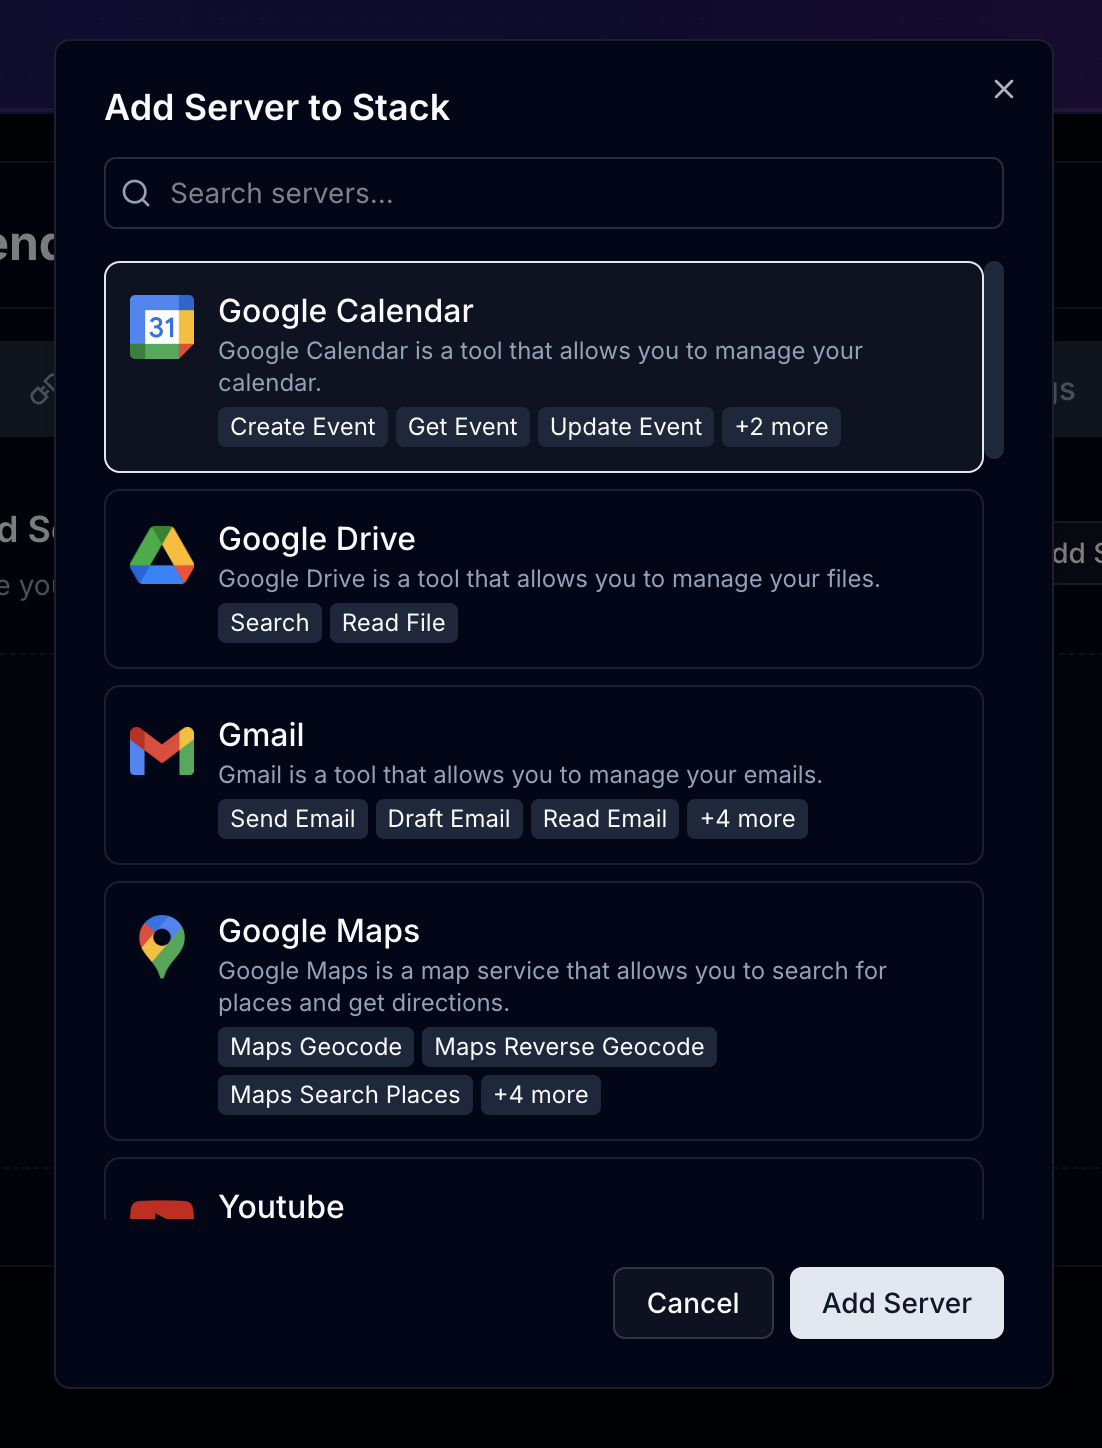 You can add multiple servers to your stack, and they will be used in parallel.
#### 2. Configure your servers
Click on the "Servers" tab on the top of the menu, and then click "Configure" next to the server you want to configure.
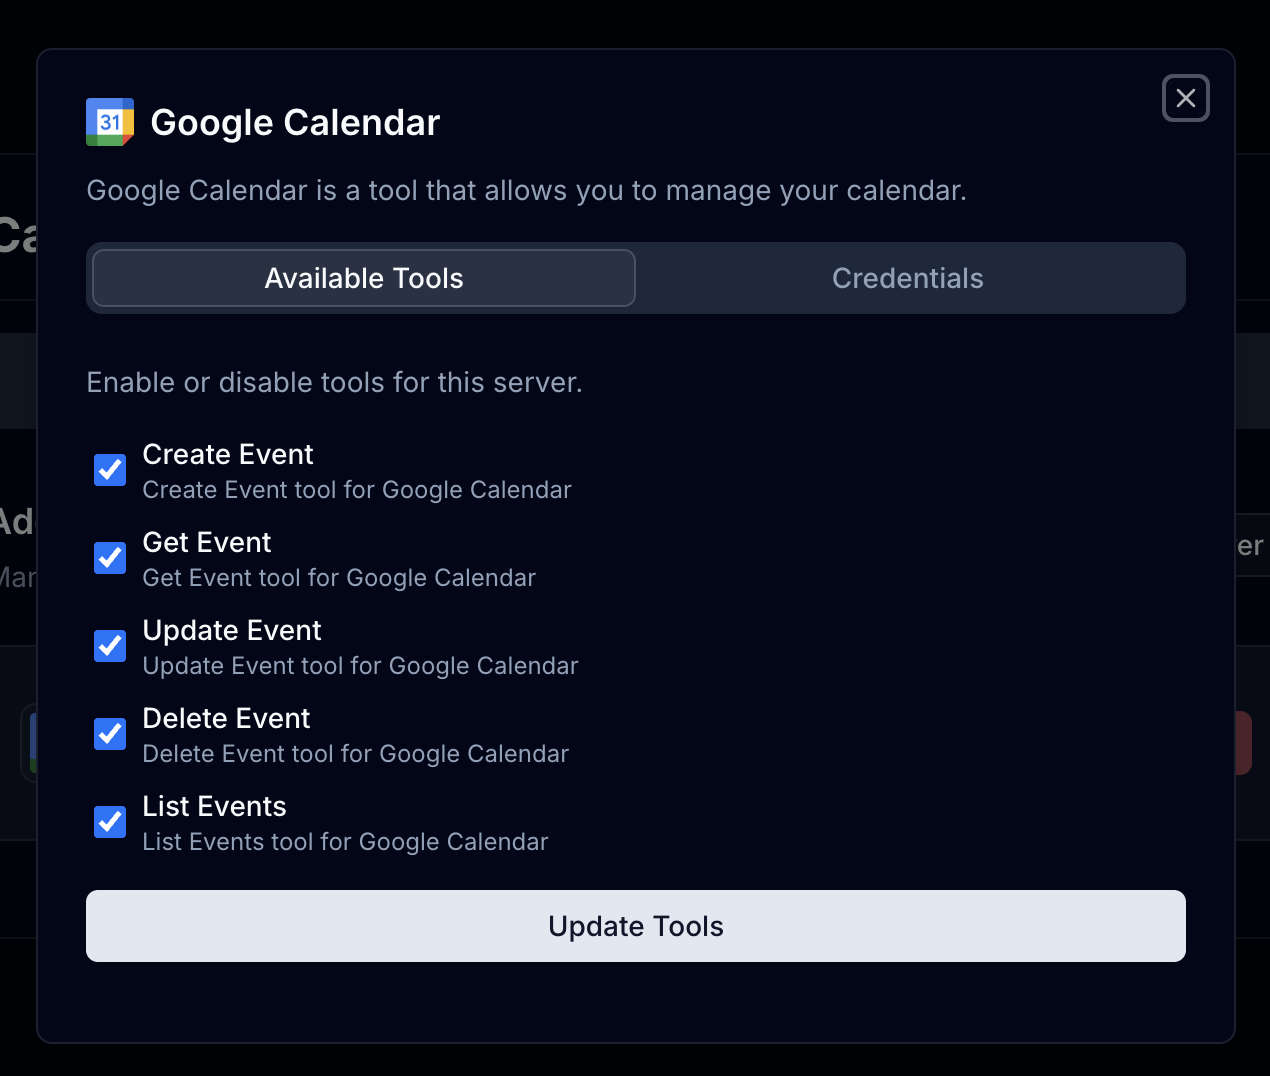
There will be two tabs: "Available Tools" and "Credentials".
In the "Available Tools" tab, you can see all the tools that are available to use with this server. You can select / deselect the tools you want to use with this server.
You can add multiple servers to your stack, and they will be used in parallel.
#### 2. Configure your servers
Click on the "Servers" tab on the top of the menu, and then click "Configure" next to the server you want to configure.
There will be two tabs: "Available Tools" and "Credentials".
In the "Available Tools" tab, you can see all the tools that are available to use with this server. You can select / deselect the tools you want to use with this server.
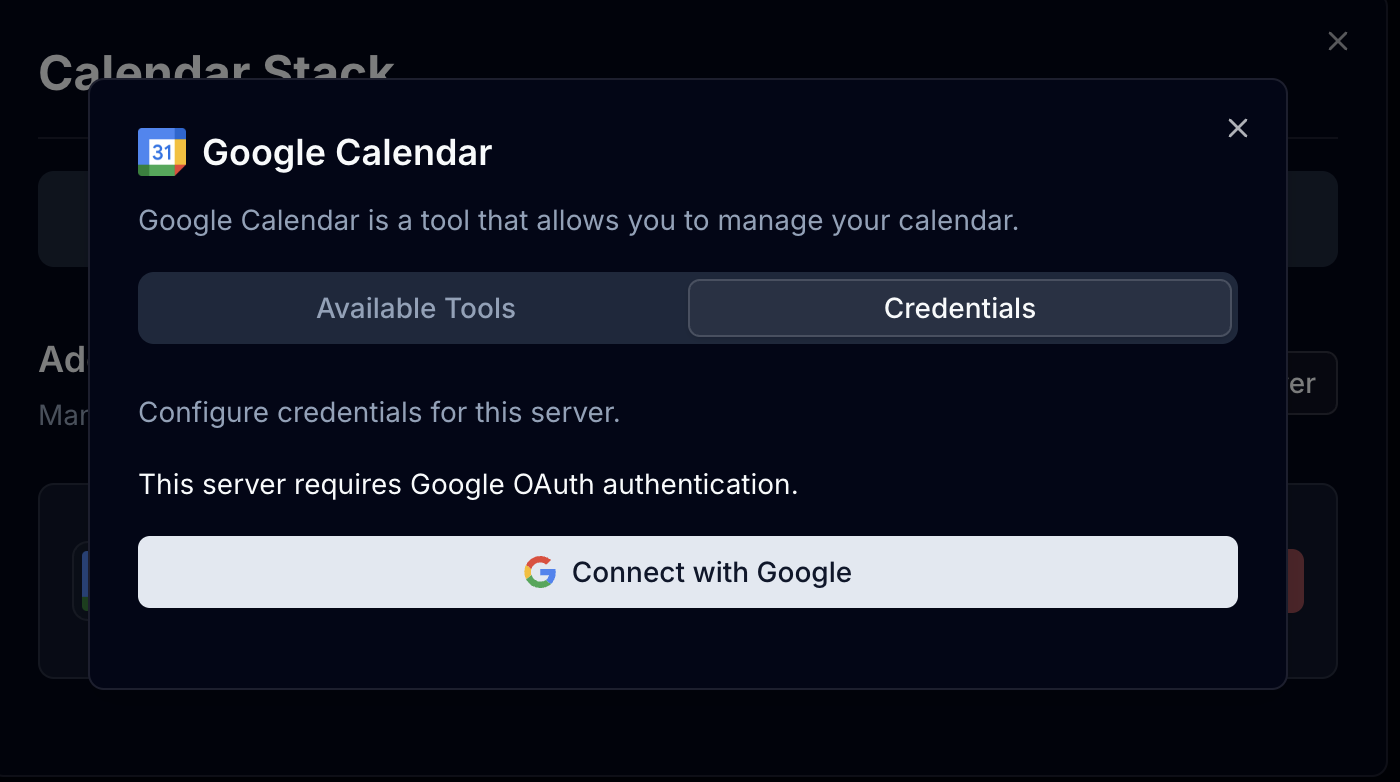
 In the "Credentials" tab, you can see the credentials for the server.
 #### 3. Chat with your stack
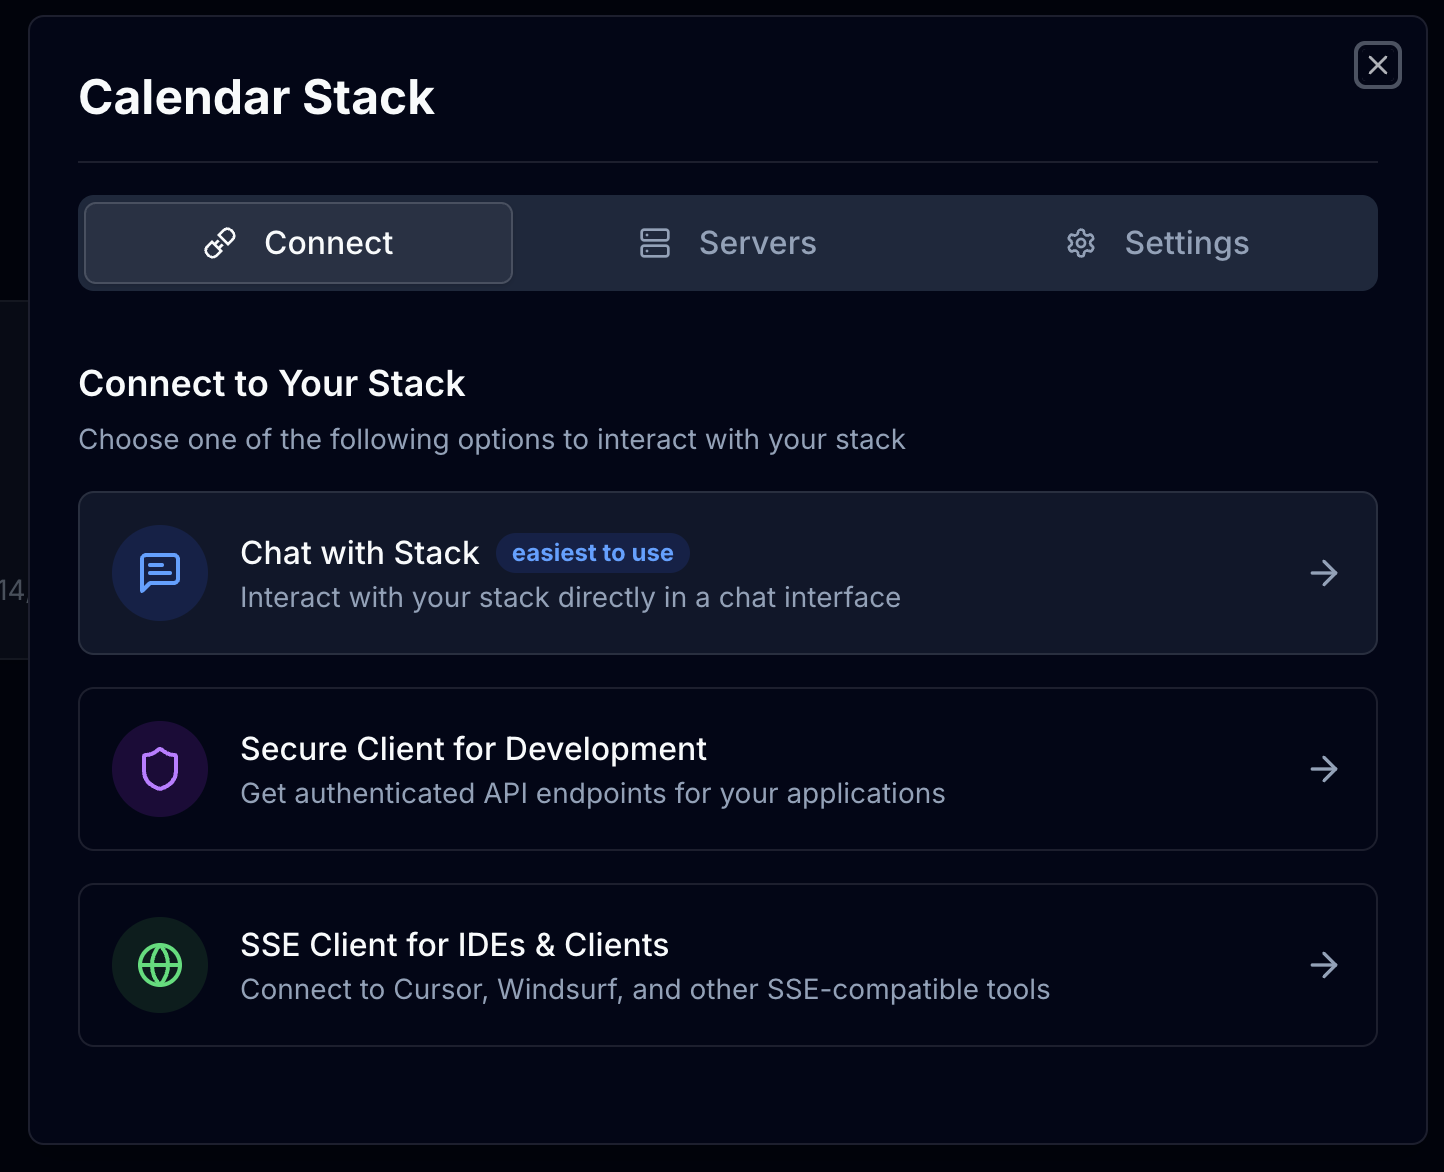
From the top of the menu, click on the "Connect" tab. and then click on the "Chat With Stack" button.
#### 3. Chat with your stack
From the top of the menu, click on the "Connect" tab. and then click on the "Chat With Stack" button.
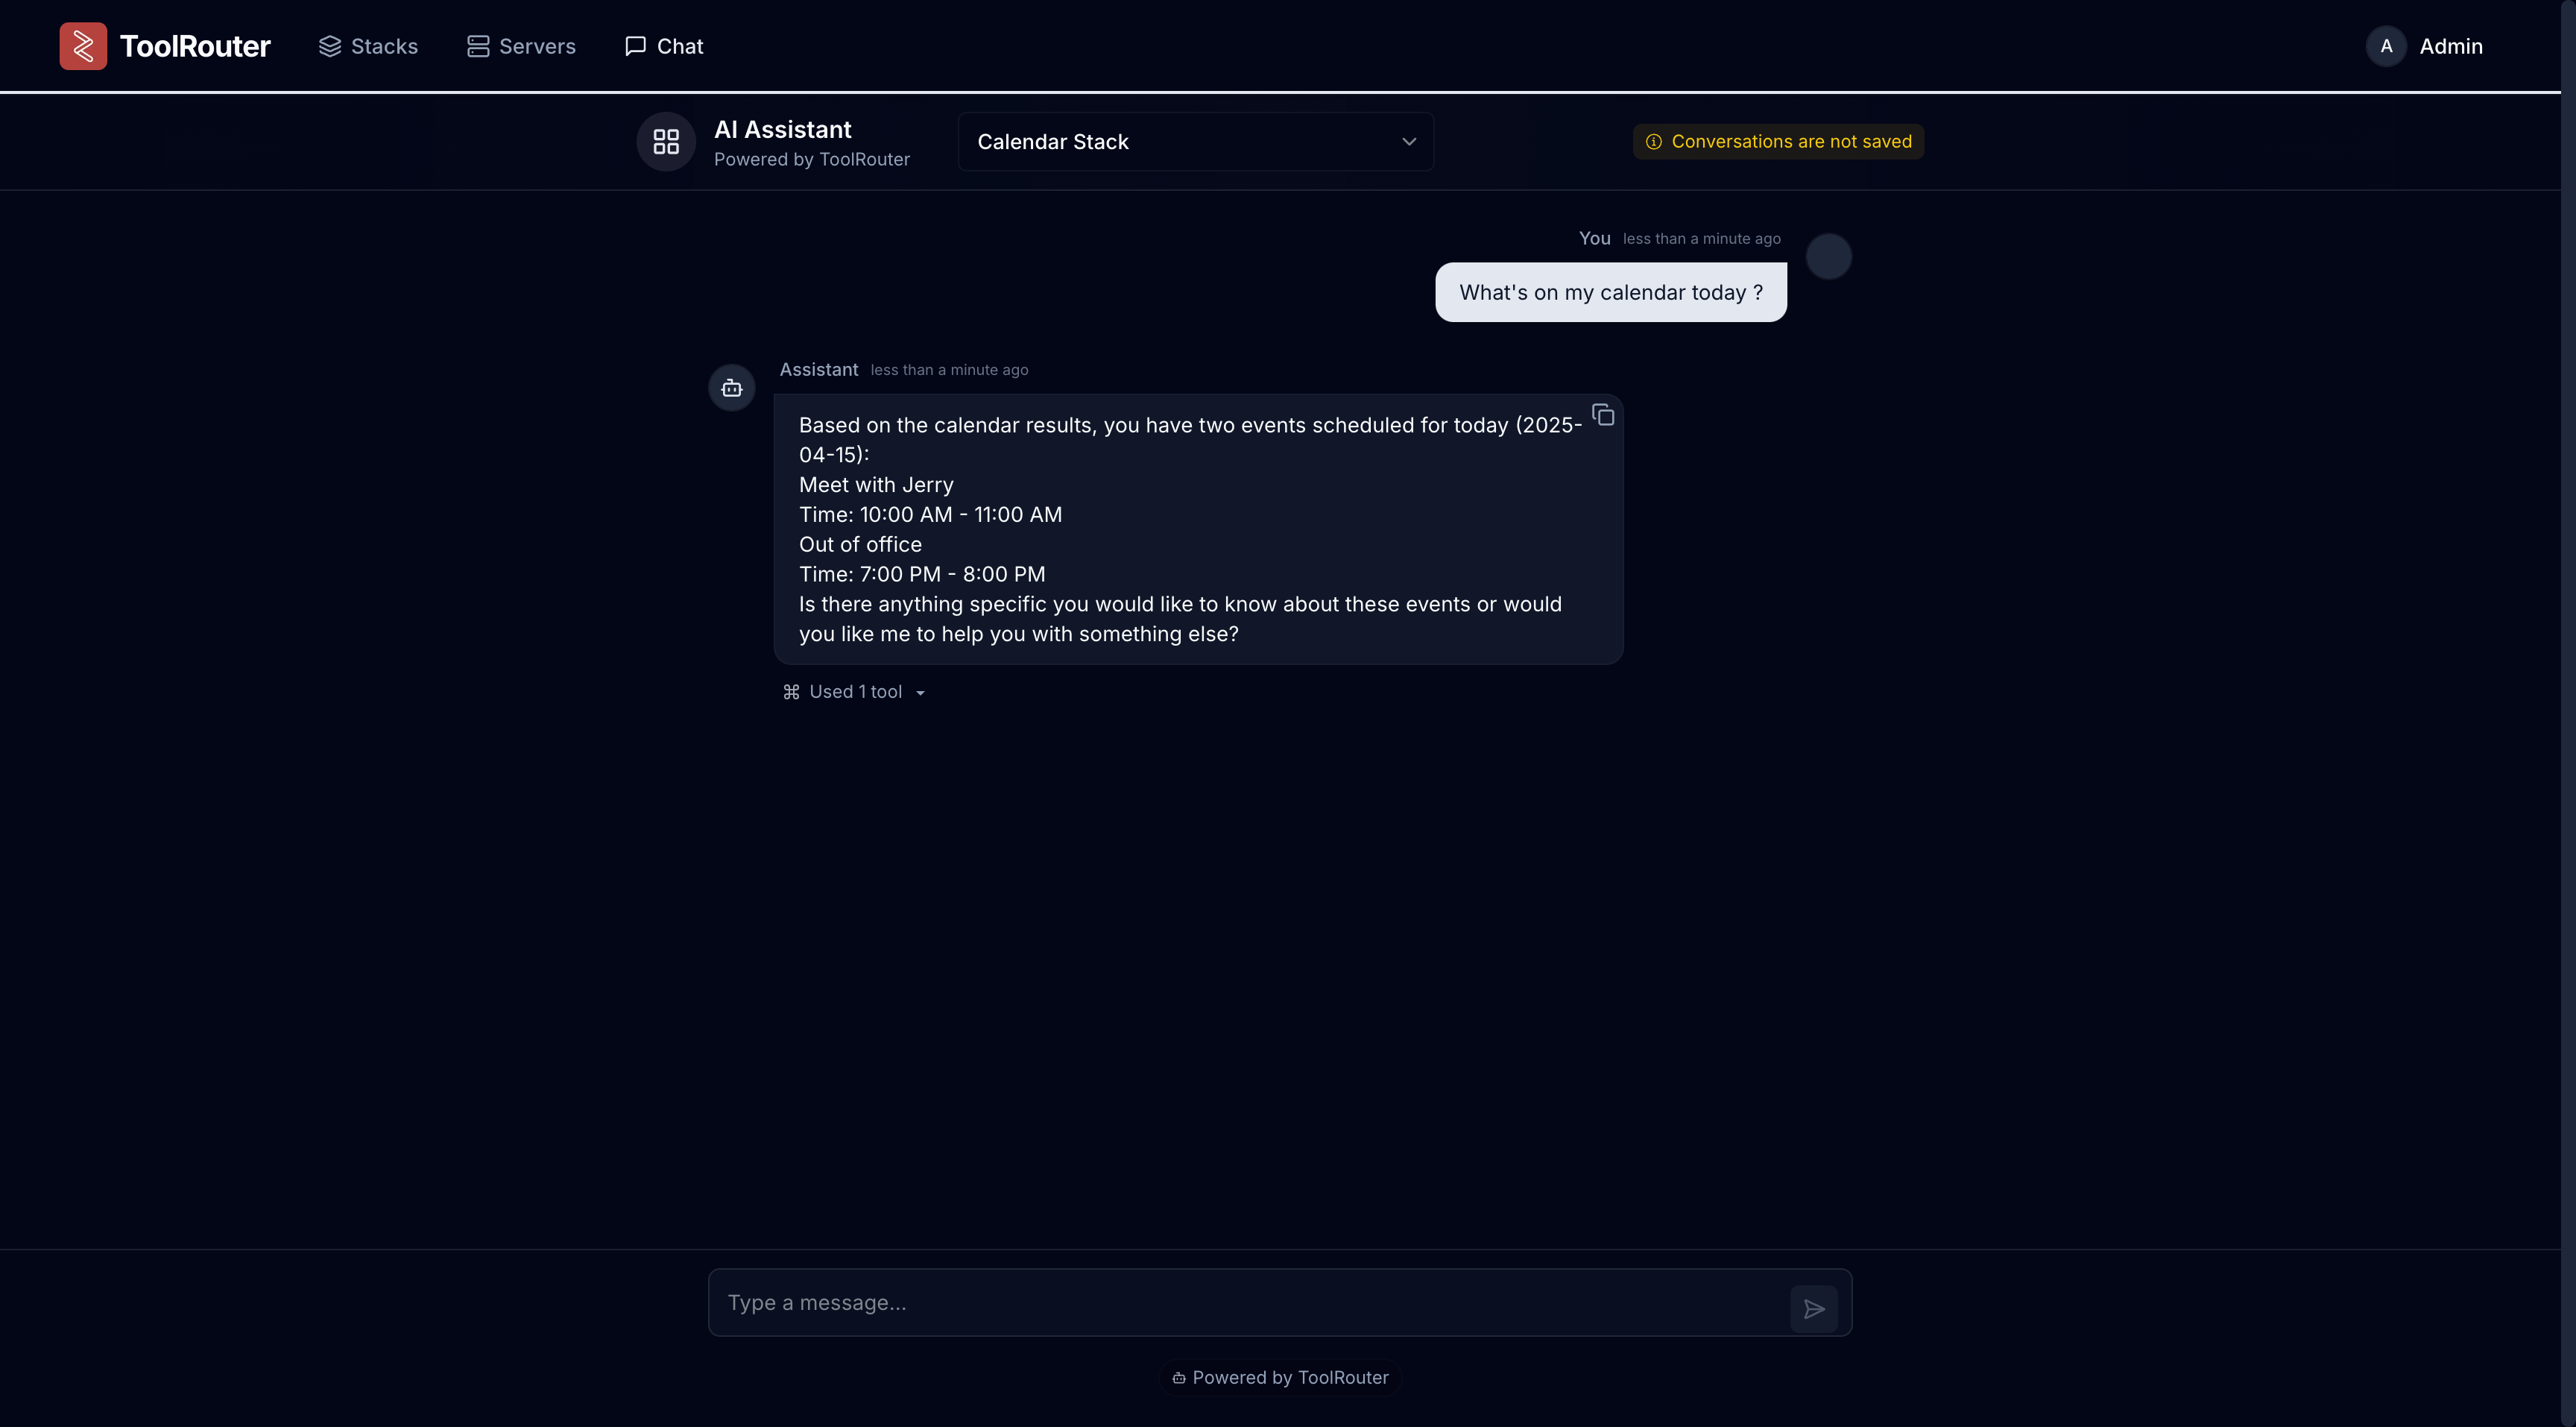
 You can now chat with your stack, and it will use the tools you have configured.
 ### 🎉 You've just created your first MCP stack! 🎉
###
## Next Steps
* Connect your stack to a Client [Client Integration](/clients/introduction)
* Create your own agents with API / SDKs. [Agent API](/api-reference/introduction)
* Learn More about ToolRouter [Documentation](/docs)
### 🎉 You've just created your first MCP stack! 🎉
###
## Next Steps
* Connect your stack to a Client [Client Integration](/clients/introduction)
* Create your own agents with API / SDKs. [Agent API](/api-reference/introduction)
* Learn More about ToolRouter [Documentation](/docs)